Create & manage custom fields
In this article we will go through
- Create a custom field
- Employee's flow for entering custom field value
- Access & edit custom field values from employee's profile
Create a custom field
Step 1:
Navigate to the Custom fields page on your sidebar.

Step 2:
Click on Add custom field.

Step 3:
Add a name & description (optional) for the custom field. For this example, we're creating a T-shirt size custom field.

Step 4:
Choose when the value of this custom field should be added for each employee. The options are:
- Admin will be prompted to add this value when adding a new employee to the system.
- Admin will be prompted to add this value when offboarding an employee from the system.
- Employee will be prompted to add the value for this custom field during onboarding.
- Admin manually enters it from the employees profile.
For this example, we're choosing option three - employee during onboarding.

Step 5:
Choose a type for your custom field. The data type for this custom field supports various data types such as text, paragraph, number, currency, percentage, date, single select, multi select, and file upload. For number, currency & percentage fields, you will have the option to allow/disallow decimals.
For T-shirt size, we're choosing single select.

Step 6:
Add options for single select. In this case, we're adding S, M, and L.

Step 7:
Decide whether you want this field to be required. For this example, we're setting this to be a required field.

Step 8:
Select which employees this custom field should apply to. You can click on "Preview people with matching attributes" to make sure this is being added to the right people. In this case, we're applying this to all users.

Step 9:
Choose permissions regarding who should be able to view the value of this custom field for this employee, whether it's everybody in your organization or only the employee and their admins. Also, decide who should be able to edit this field, whether it's just the admins or both the employee and the admin.

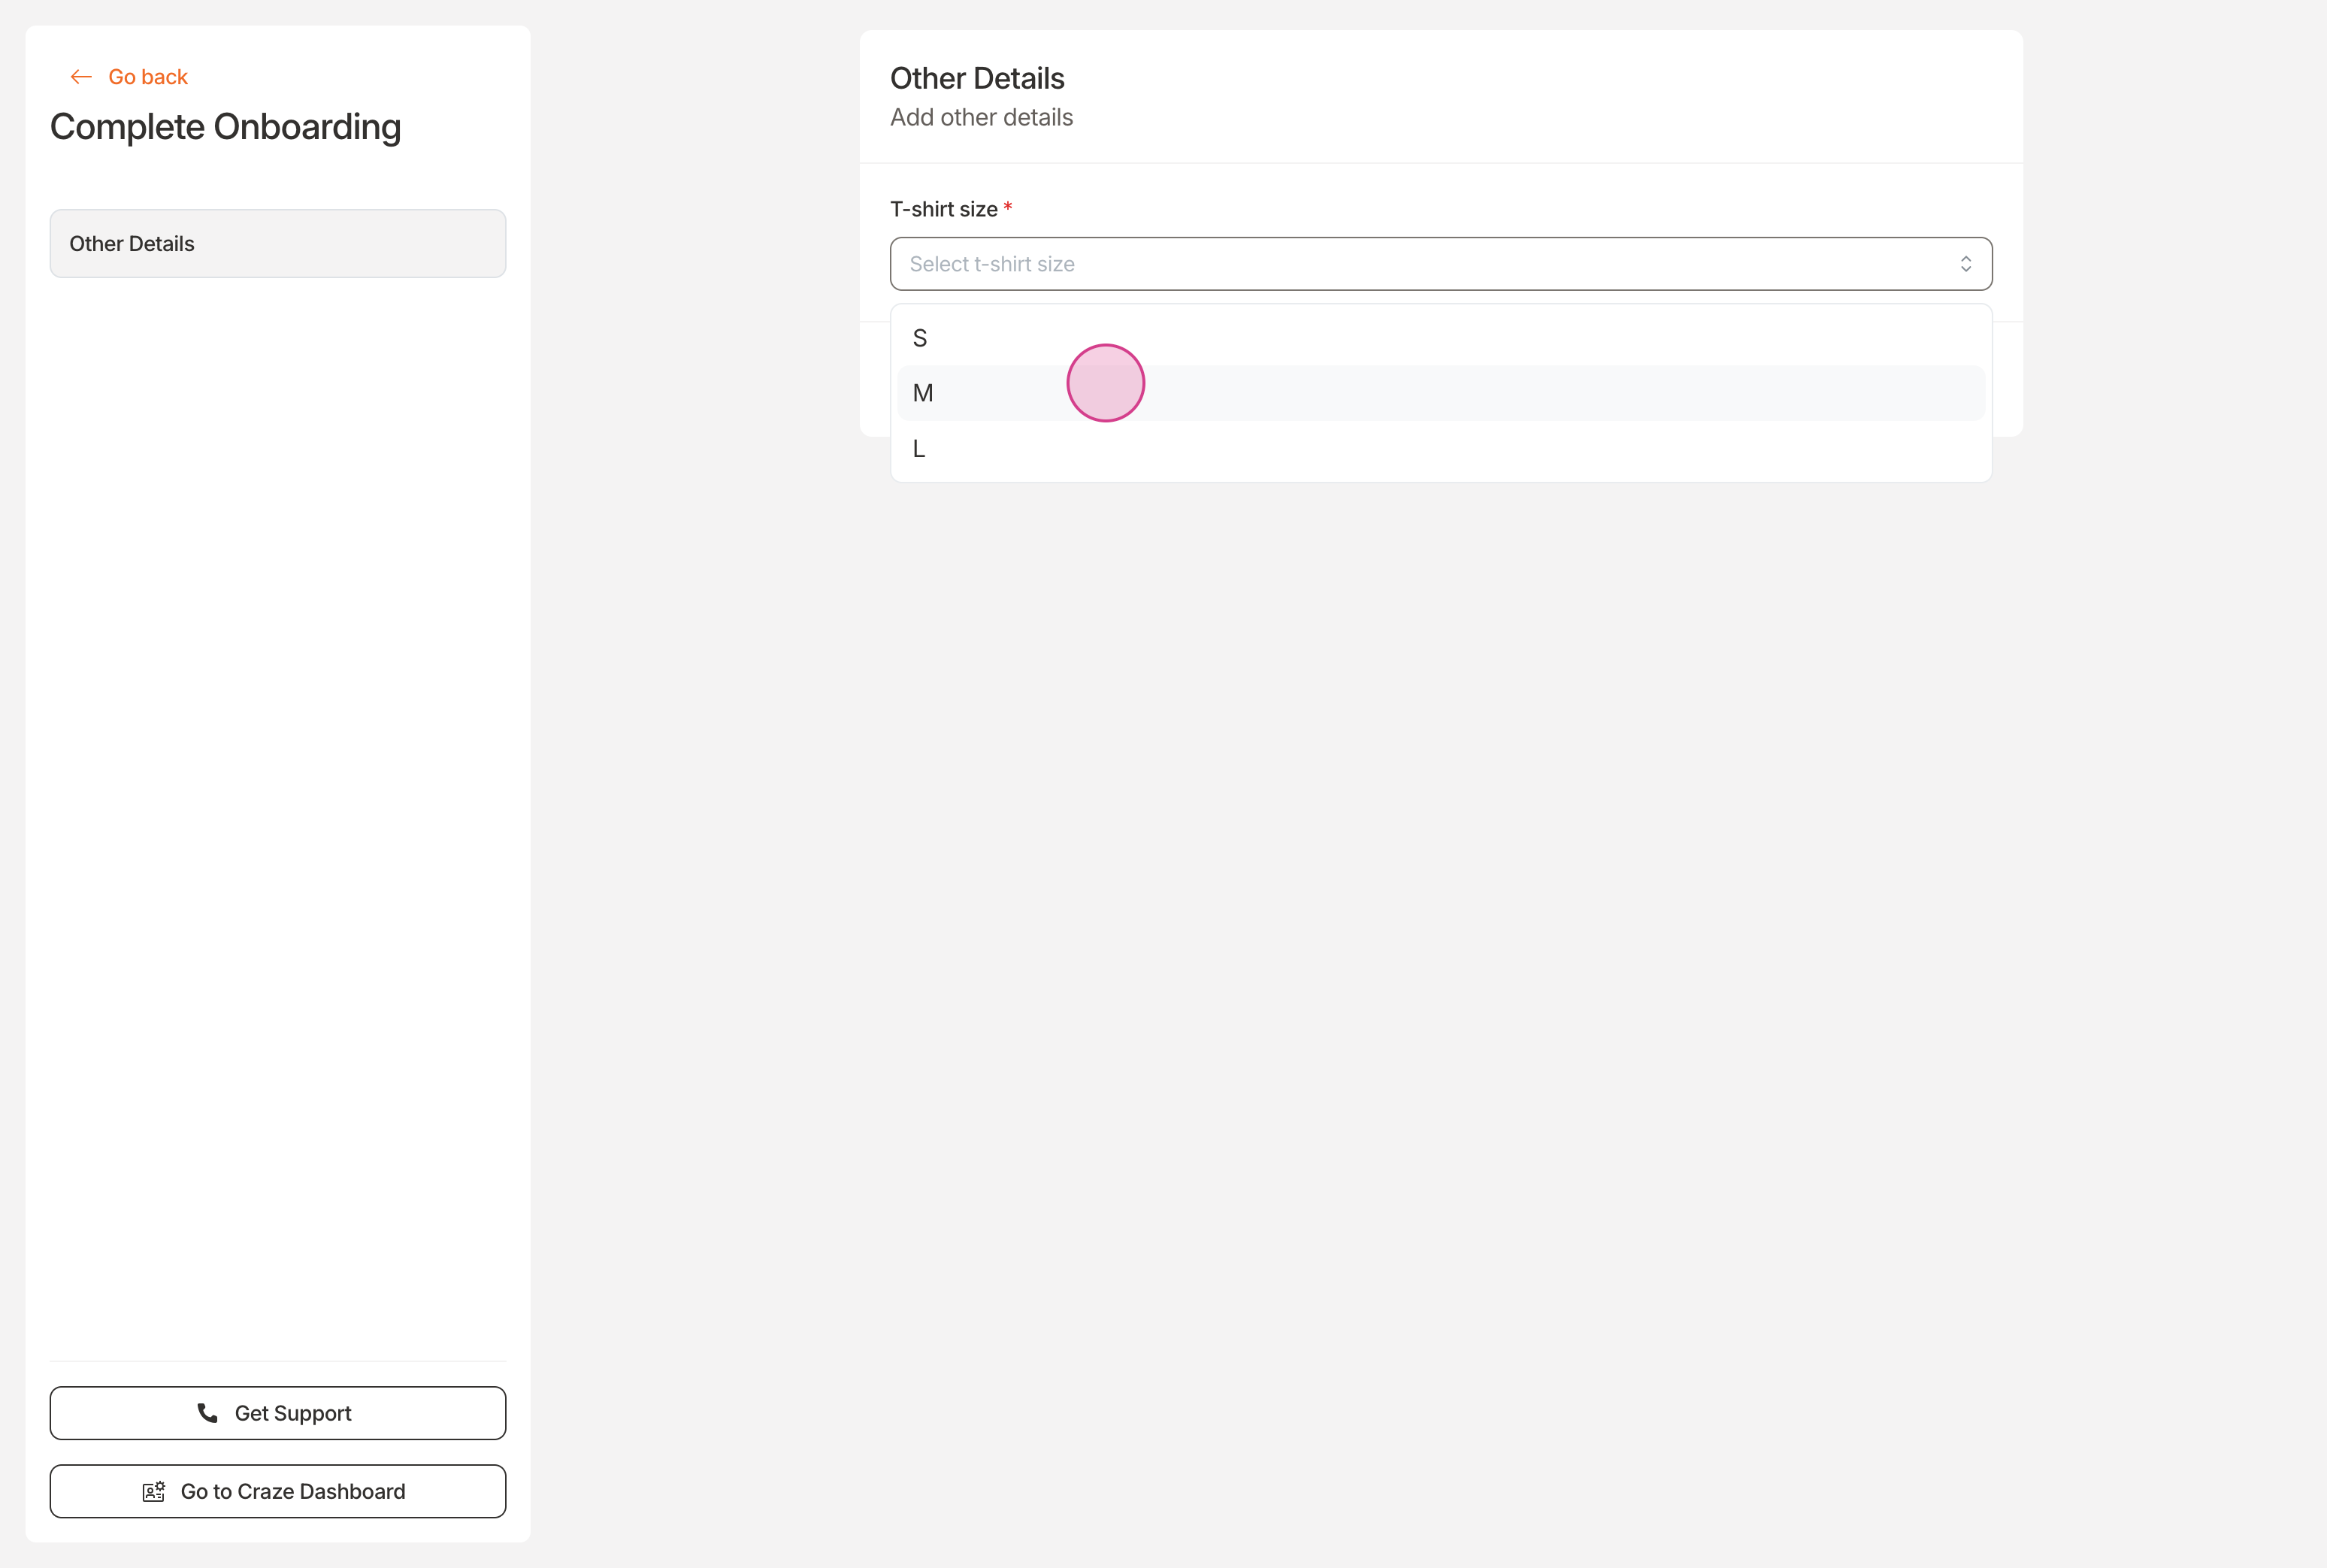
Employee's flow
Now, when the employee is onboarding, they'll see a step like this where they can choose their T-shirt size. This is given that you selected "Employee will be prompted to add the value for this custom field during onboarding" option when creating the custom field.
Access custom field from employee's profile
You're also able to access this custom field by going to the employee's profile in the Other Details tab. Here, you're able to click on Edit to edit this value.

Updated on: 30/04/2025
Thank you!