Reports: Share & export reports
In this article, you'll learn how to share reports with your colleagues using Craze while making sure they only have access to the right data.
Share via Craze
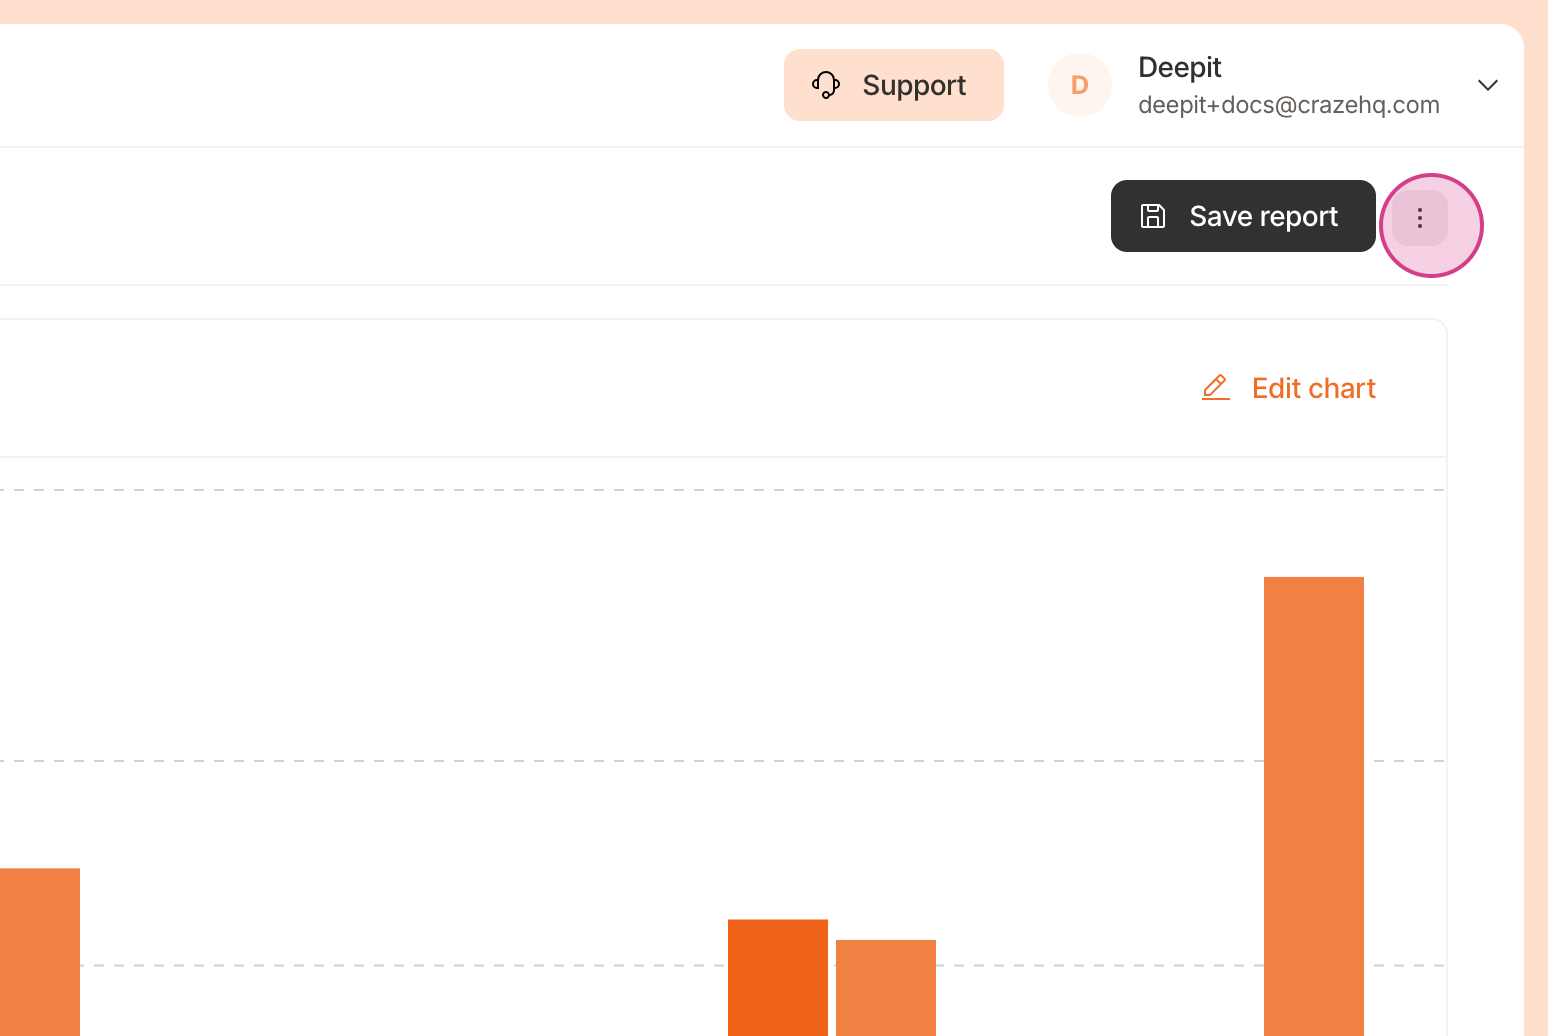
Step 1: Start by clicking on the three dots.
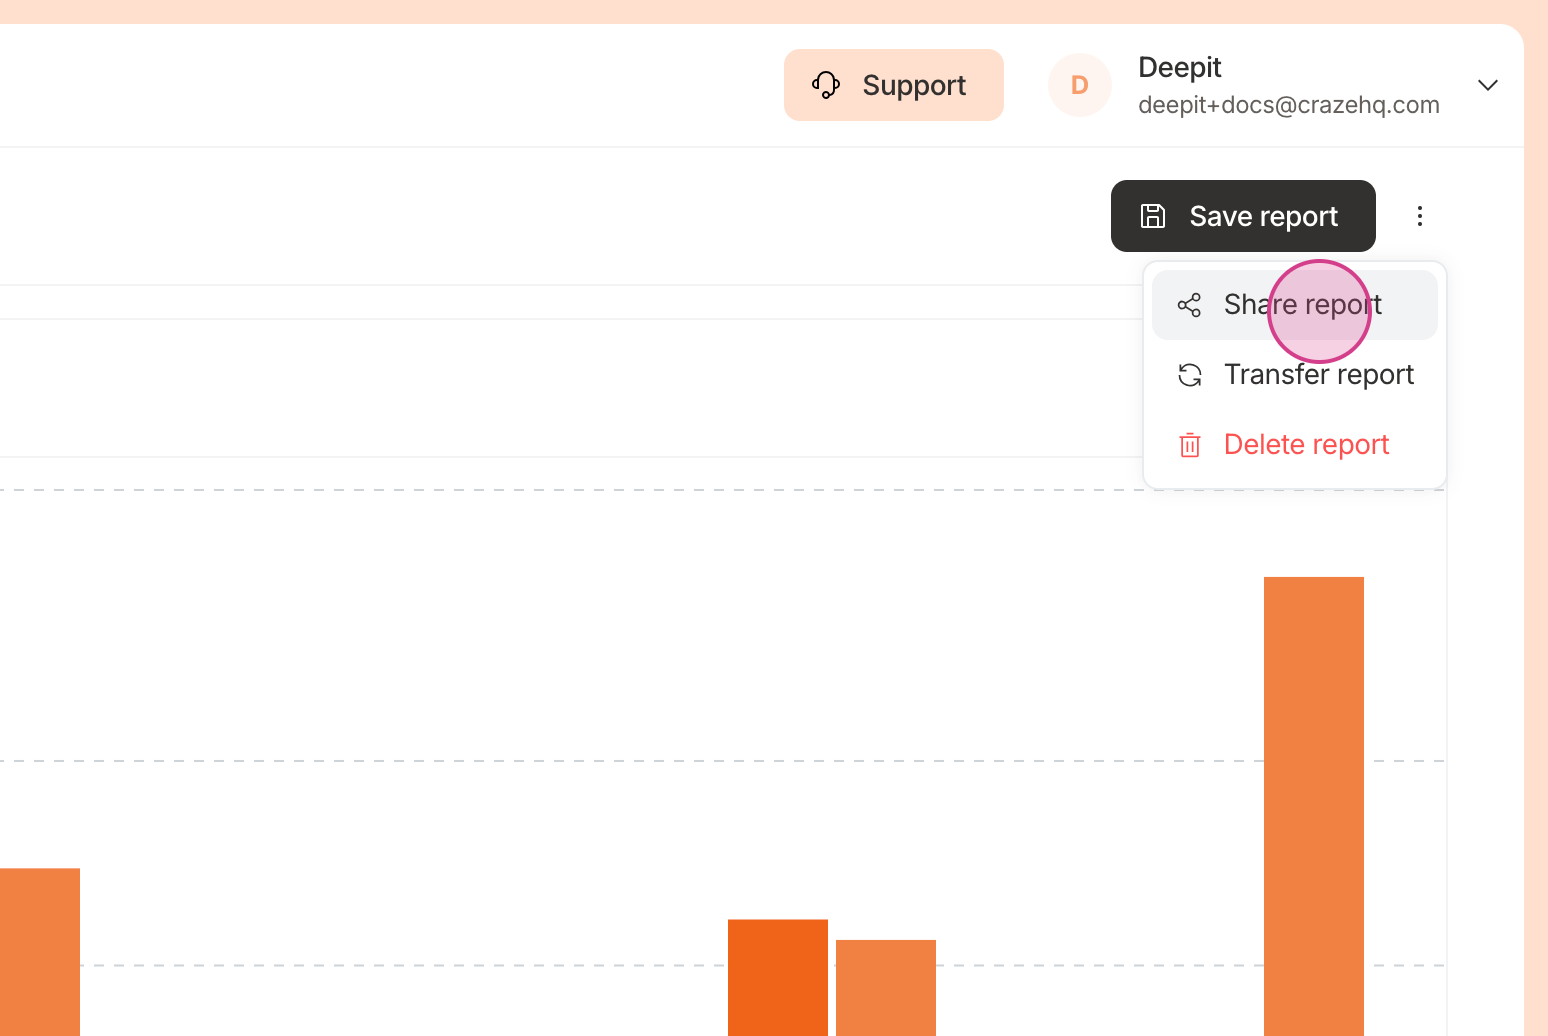
Step 2: From the dropdown menu, select Share Report.
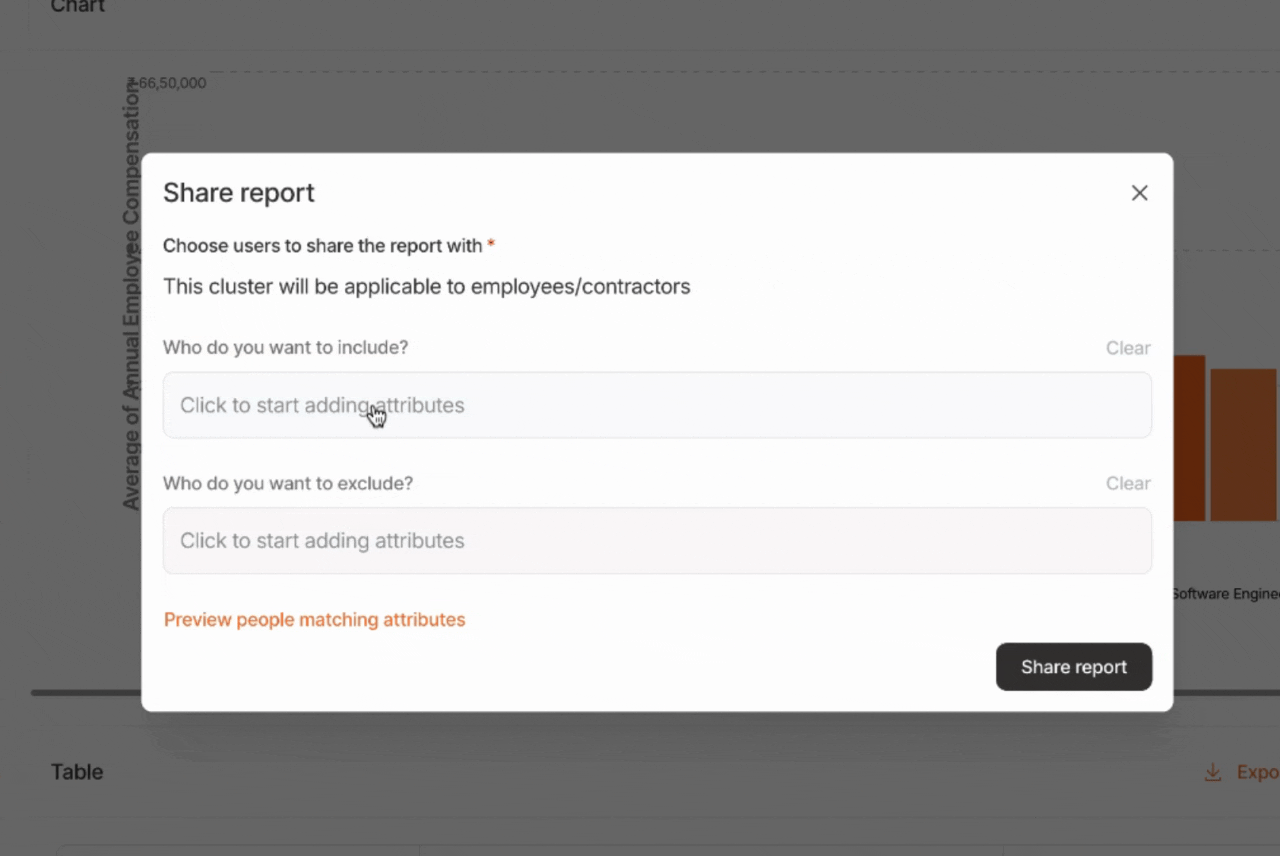
Step 3: Now, decide which employees should have access to this report. For this tutorial, we're selecting the HR department. To review the list of people who will receive this report, click on Preview Matching Attributes. This allows you to verify if your conditions are correct.
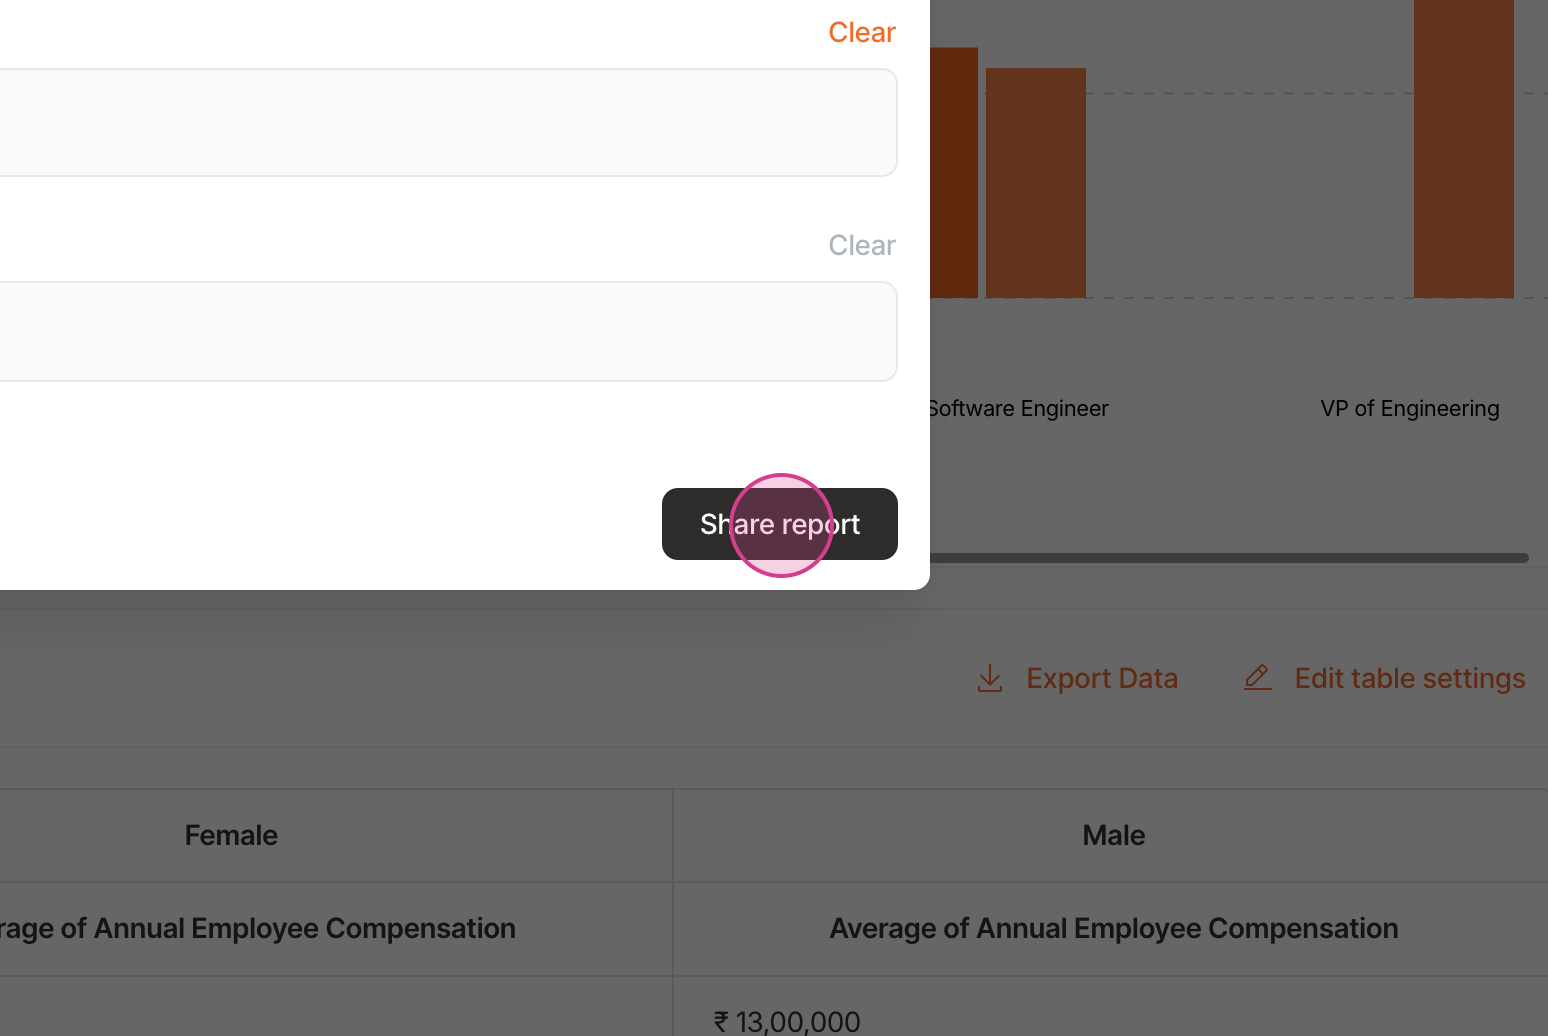
Step 4: To share the report, click on Share Report.
Once shared, your colleagues can access the report from their Reports tab.
Share exported data outside of Craze
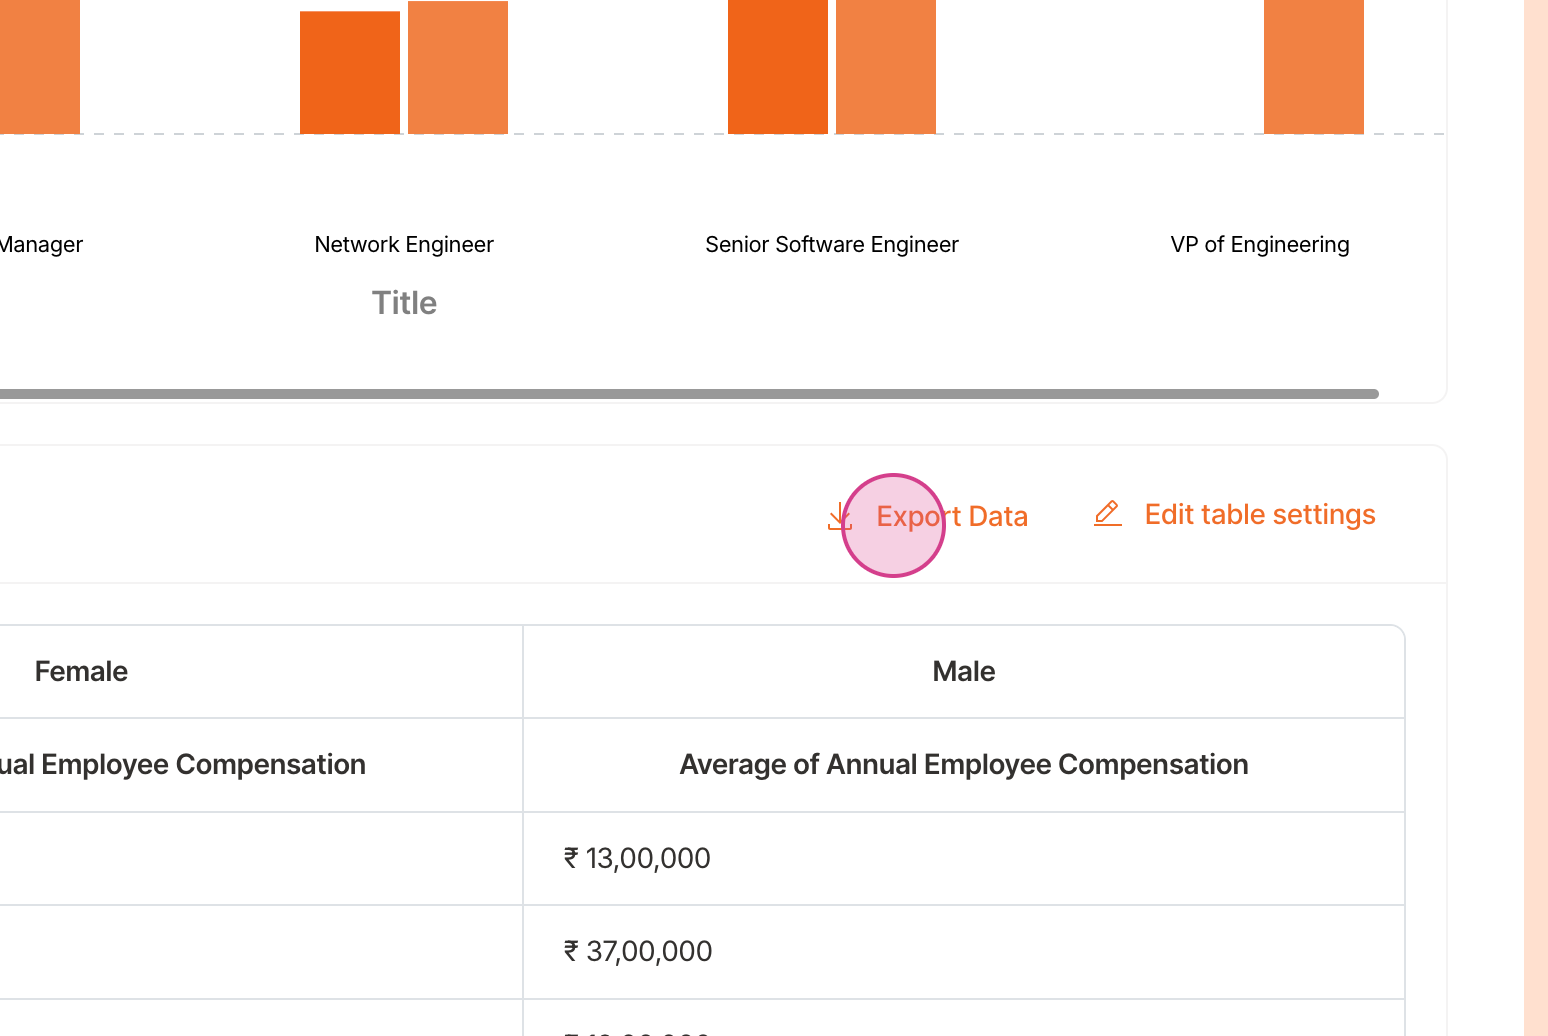
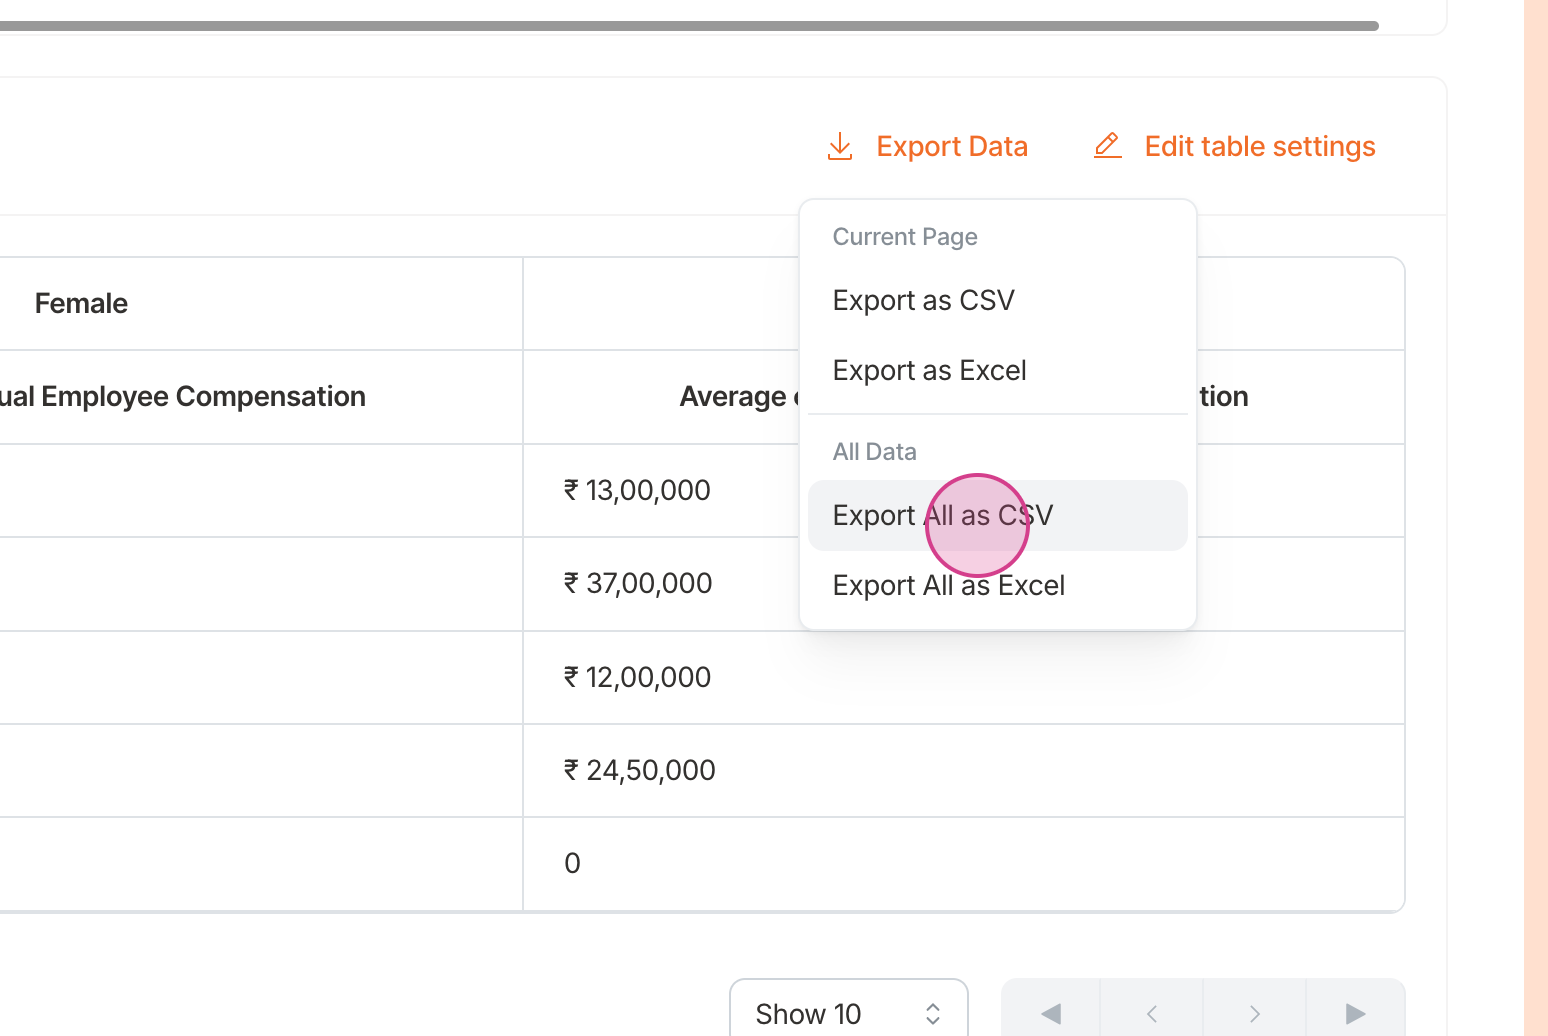
Alternatively, you can share reports by exporting the data. To do this, click on the Export Data button.
Craze allows you to export data in CSV and Excel formats.
Updated on: 26/04/2025
Thank you!